How do I setup a VPN connection to the RUT241 so I can access my connected devices?
VPN Configuration for Remote Management System Download the PDF file
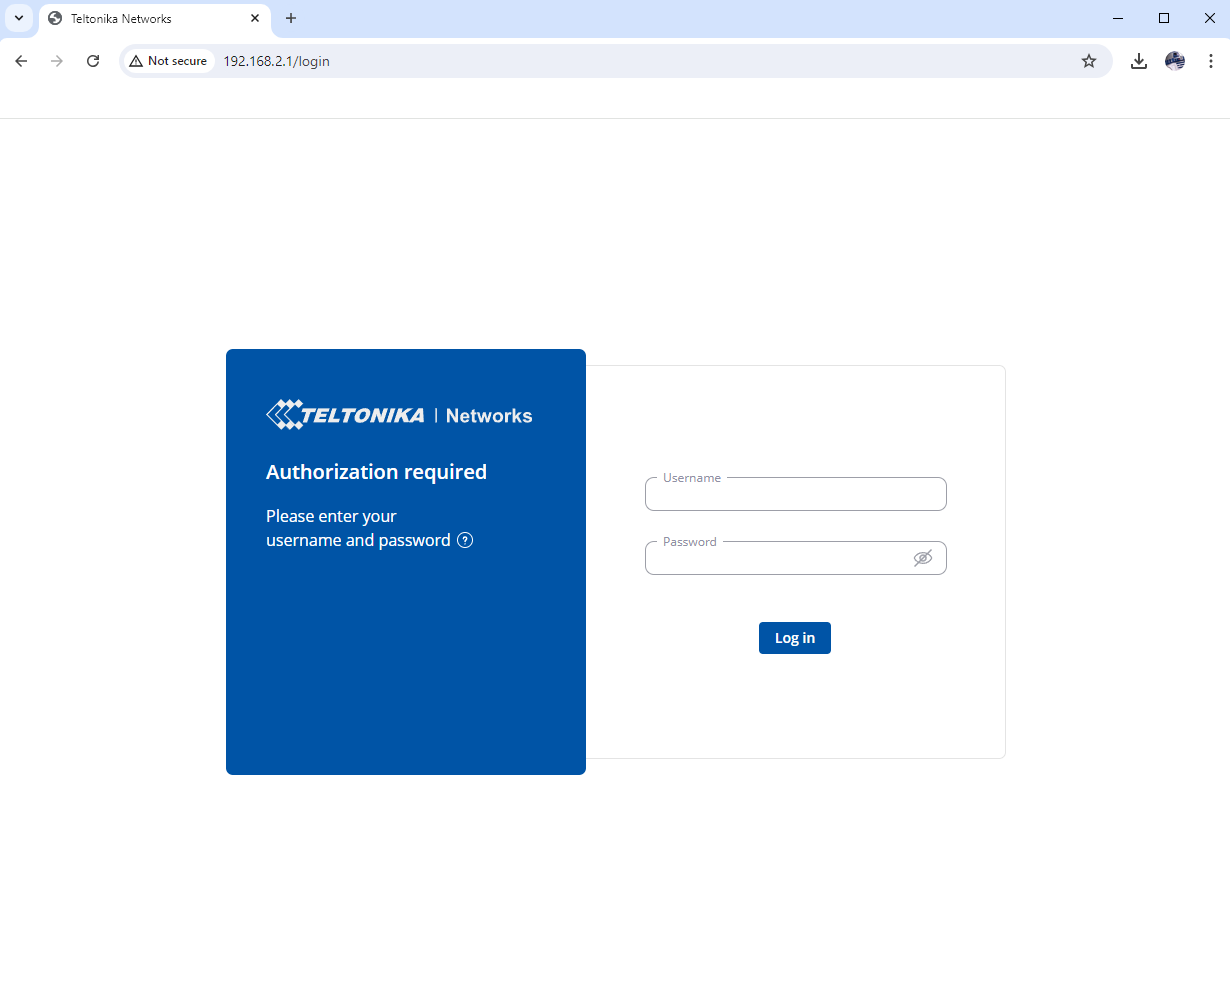
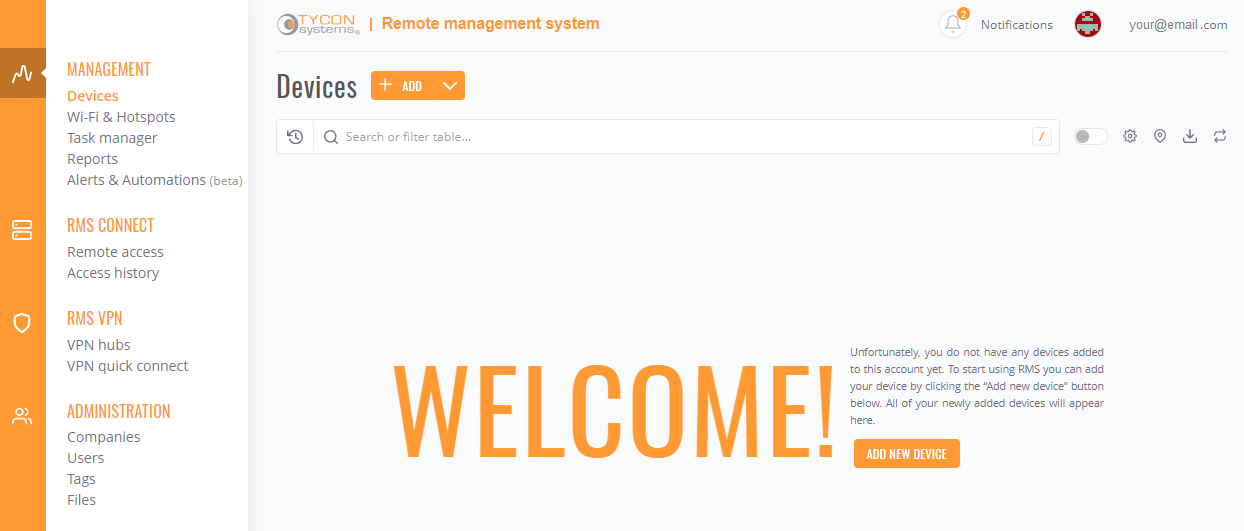
Log into your rms.tyconsystems.com account.
First, you will need to add a device.
Make sure the device you want to add is powered on and has a connection to the internet.
Click on the ADD button.
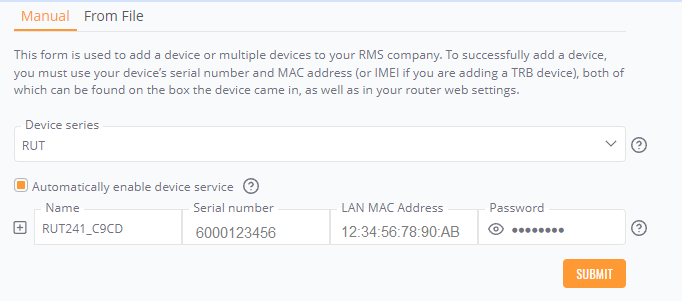
For the device series, select RUT.
Enter a name for your device. This can be anything you choose.
Enter the 10-digit serial number. This is printed on the bottom of the device.
Enter the 12-digit MAC Address. This is printed on the bottom of the device.
Enter the password. If you have not changed the password, enter the one printed on the bottom of the device.
Click on Submit.
An status window will appear and tell you if it was successful.
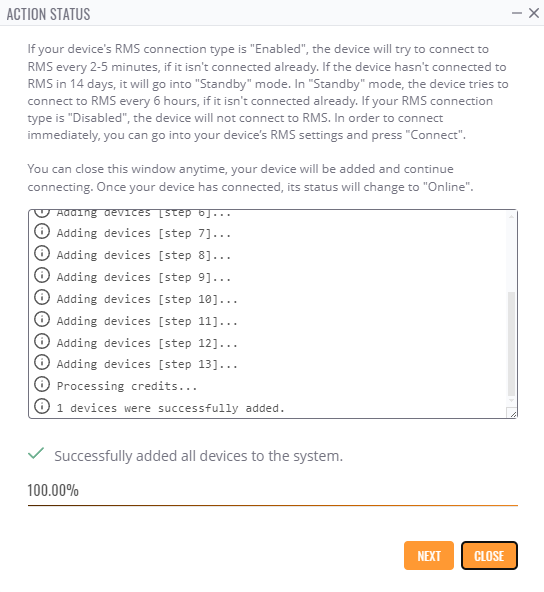
If the device status shows a red triangle, the password is incorrect. Click on the red triangle and enter the password again.

If the status for the device shows a black circle (not activated), it may take a minute or two for it to turn green.

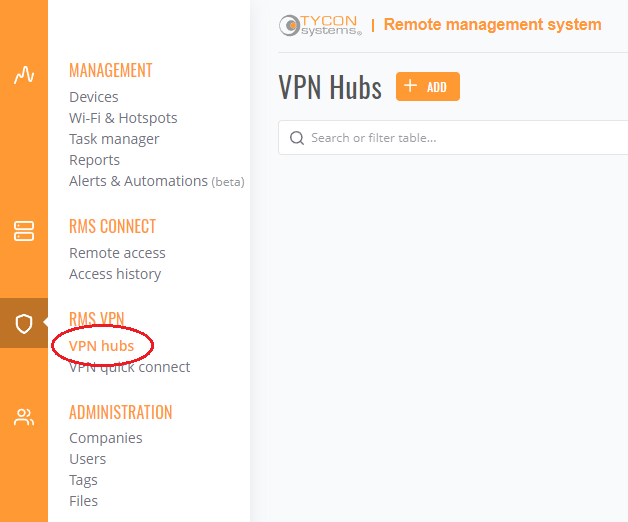
Click on VPN hubs then click ADD.
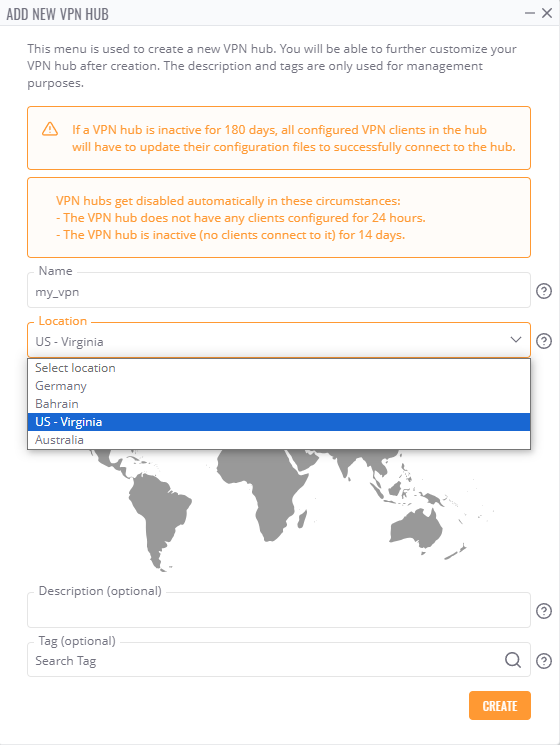
Give the VPN a name and select a location from the drop-down menu, then click CREATE.
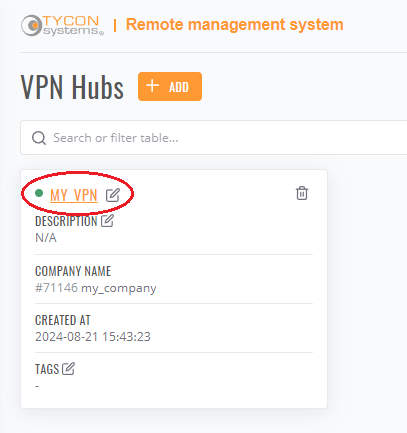
Click on the VPN you just created.
Click on Clients.

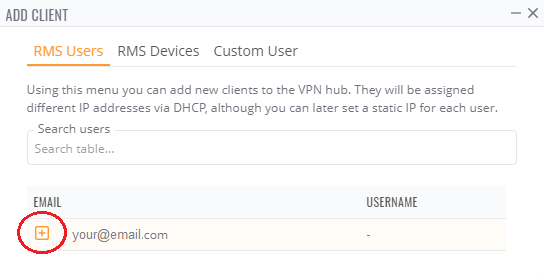
You will need to add an RMS user and an RMS device. Click on ADD.
Click the plus symbol to add the RMS user, then click CONFIRM.
Click on the download button to download the VPN Configuration file. We will use this later.

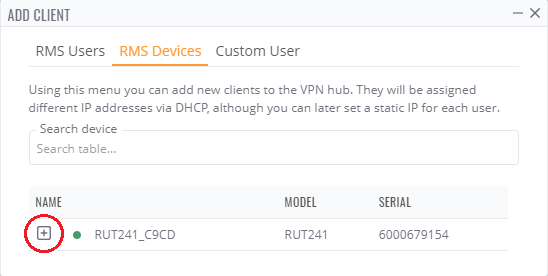
Select RMS Devices, then click on the plus symbol next to the device you want to add, then click CONFIRM.
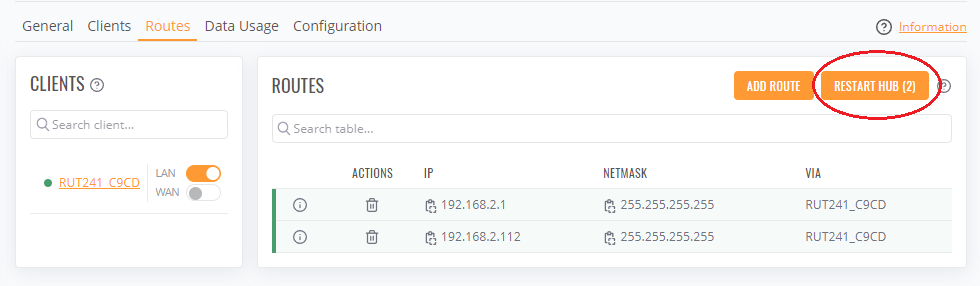
Select Routes and enable LAN forwarding.
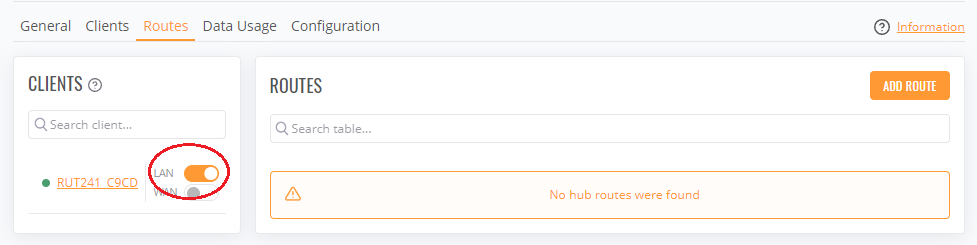
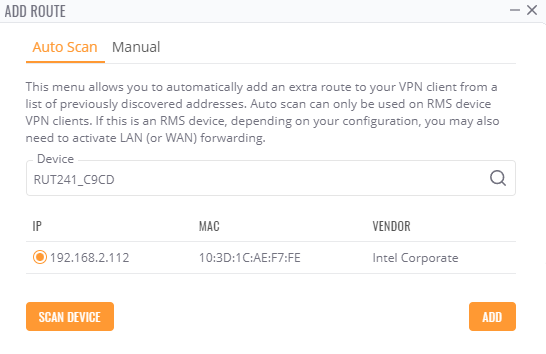
Click on ADD ROUTE. You can use Auto Scan to find devices that are connected to the LAN, or you can enter them manually.
To use Auto Scan, click on the Device box. Then select the device you want to scan. 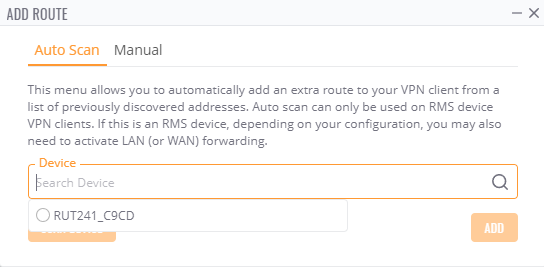
Click on SCAN DEVICE.
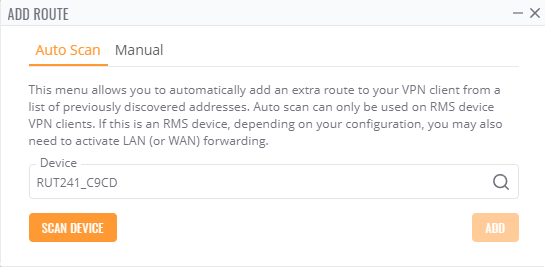
Select the device you want to add, then click on ADD.
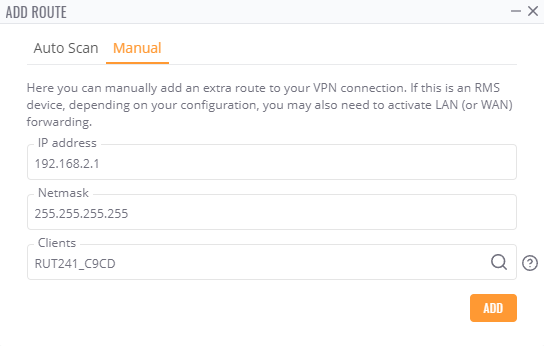
To add a device manually, select Manual. Enter the IP address, Netmask, and Client.
After making these changes the VPN Hub needs to be restarted. Click on RESTART HUB.
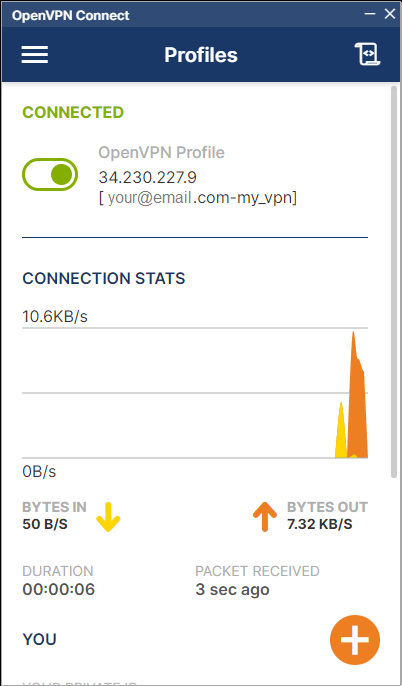
The VPN is now configured in RMS. To test it, download and install OpenVPN Connect at openvpn.net/client/
In OpenVPN Connect, click ULOAD FILE.
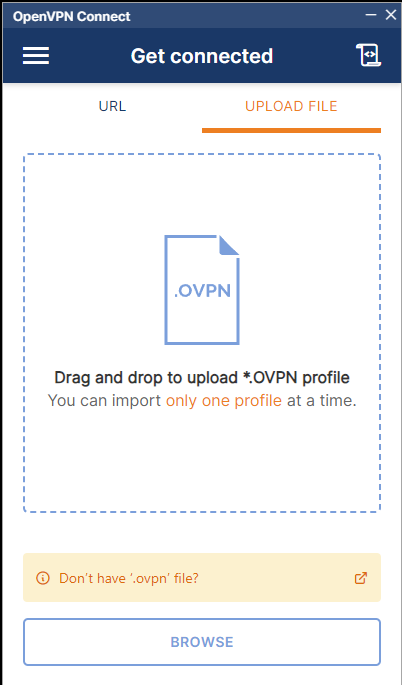
Now you will need the .pvpn configuration file that you downloaded earlier.
Drag the .ovpn file to OpenVPN window or select it by clicking BROWSE.
Click CONNECT.
Now you can test the connection by entering the IP address in a web browser.