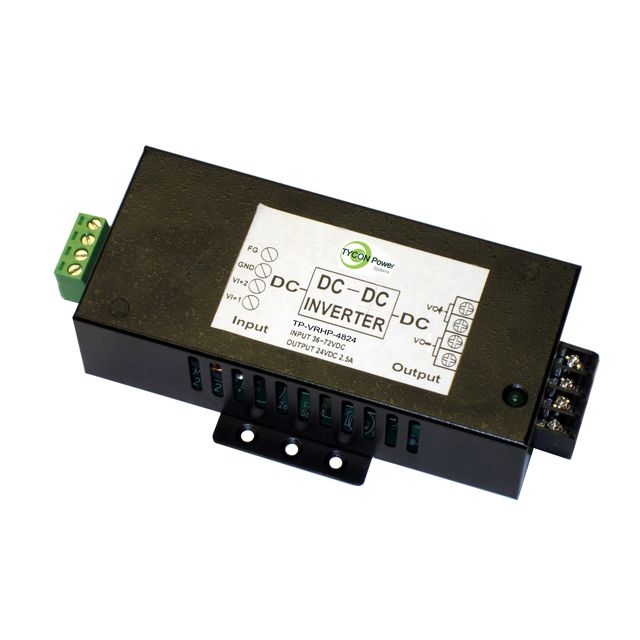
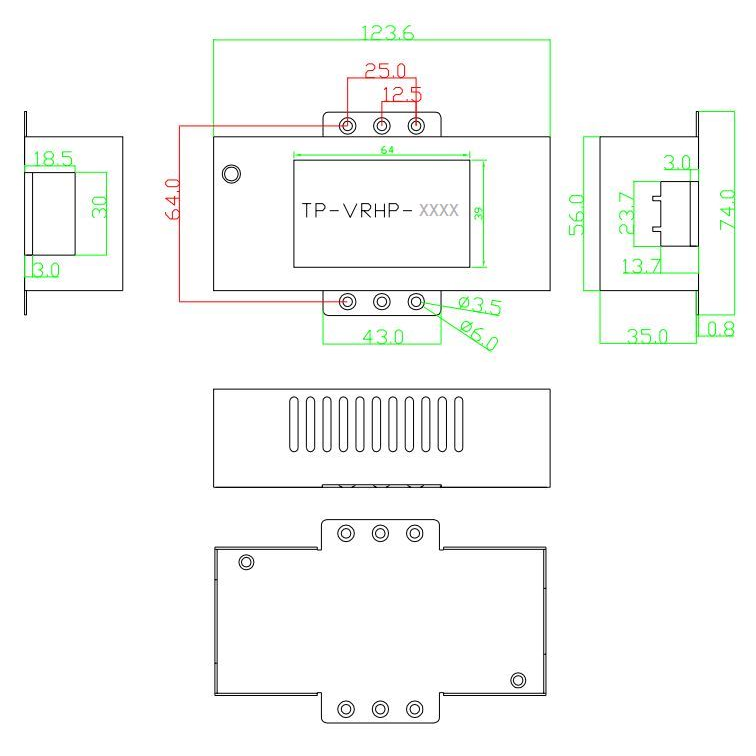
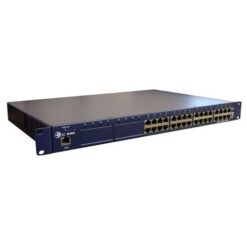
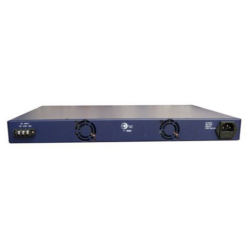
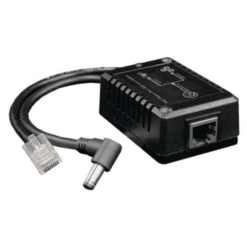
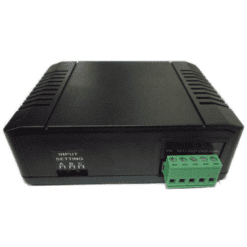
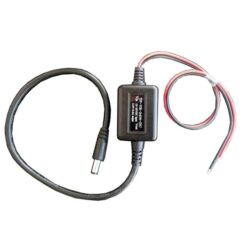
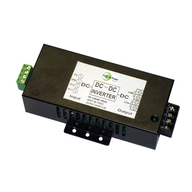
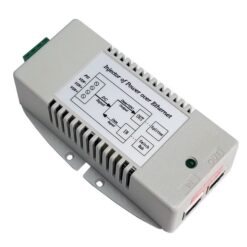
Tycon Power Systems TP-VRHP-2424 70W 18-36VDC to 24VDC Voltage Converter/RegulatorThe TP-VRHP-2424 is a 70W voltage converter/regulator which accepts an input of plus or minus 18VDC to 36VDC and provides a regulated output of 24VDC @ 2.9A 70W. These units are perfect for providing stable regulated 24VDC voltage from 24VDC battery banks. Input and outputs are non-isolated wire terminals for wire up to 12AWG. Operates from -30 to +65 deg C.
TP-VRHP-2424
18-36VDC Input, 24V 2.9A 70W Regulated Output, DCDC Non-Isolated Voltage Converter, Wire Terminal Input and Output (12AWG Max)
User Guide
$74.95
1 in stock
New Stock: 12/19/2024
- Ships in 1-2 days
- No Risk Guarantee
- 2-3 Year Warranty
Technical Information
Ship Weight | 0.65 lbs |
---|---|
Ship Dimensions | 7 × 4 × 2 in |
Input Voltage | |
Output Voltage/Type | |
Output Power | |
Temperature Range |
FAQs
Frequently Asked Questions
The following shows sources for 4 pole green connectors:
For different pole counts, just follow the manufacturers series.
- Tycon uses Howder Taiwan connectors. HD-515H-4P “http://www.howder-tw.com/admin/upload/HD-515H.pdf“
These connectors from On Shore Technology are compatible.
These connectors from Phoenix Contact are compatible.
https://www.google.com/search?q=poe+type+charts&tbm=isch&ved=2ahUKEwiop_vqm7T_AhUZPN4AHSI3A6kQ2-cCegQIABAA&oq=poe+type+charts&gs_lcp=CgNpbWcQAzoECCMQJ1CKD1i4HGCaJmgAcAB4AIABXYgB-wOSAQE2mAEAoAEBqgELZ3dzLXdpei1pbWfAAQE&sclient=img&ei=aBKCZKjTDZn4-LYPou6MyAo&bih=1317&biw=1992
Default IP: 192.168.2.1 User = admin Pass = admin
VIN1+ and VIN2+ are used to power the device using 2 different sources.
VIN- is there the negative wire connects to.
FG is your chassis ground.
The TP-DCDC-1256GD-VHP has two separate 802.3at detects the output. One on pins 1,2,3,6 and the other on pins 4,5,7,8. Each detector has an LED associated with it. If the LED is green, it means that the unit had a successful 802.3at detect on the pins and those pins are powered up. Normal operation would be two green LEDs.
If your device uses 802.3af or 802.3at it is considered to use active POE. What that means is that the PoE device (Camera/Radio/Telephone/etc.) will check the power coming in and if it doesn’t meet the device requirements it won’t power up. 802.3af/at does a handshake between the sending and receiving POE devices and won’t power up if the receiving device doesn’t provide the proper acknowledgment. 802.3 af/at PoE voltage will always be 44 to 57 volts DC.
-Passive POE usually refers to any device using POE to power that is not 802.3af/at.
-This includes things like cameras and radio antennas that run on 18-48V DC PoE.
-Passive POE does not do a handshake, so it is extremely important to know what POE voltage your device requires before plugging in the CAT5 cable and powering it up.
NOTE: If you connect the wrong voltage, you can easily burn up your device.
Sometimes the date and time of the TP-SW4G-2SFP and TP-SW8G-2SFP are not updating automatically. This is usually caused by the switch not having the proper IP route to connect to the NTP server.
- First, you need to program the switch to have an IP route pointing to your gateway. Go to the web interface; Network Admin; IP Config In this example, my gateway is 192.168.1.254 A default route can use the value 0.0.0.0 for the Network field.
- Next, Go to Network Admin; NTP. Select Enabled as the mode. Put in the IP address of the NTP server.
- I use ”http://us.pool.ntp.org/” which has an IP address of 72.5.72.15
- Next step is to update the timezone on your switch. Go to Network Admin; Timezone
In this example, my time zone is -6. So I use -360 as my timezone offset. (-6 x 60). Finally, double-check if the system time and date have updated by going to the system information page
If this does not work, check the parameters you’ve set, especially the IP route and NTP server IP address. Make sure you also saved the settings. Power cycling the switch often helps.
Please follow the instruction as below and reset the password to default.
- Turn off the unit, disconnect any Ethernet cables attached to the module.
- Press and hold S1 switch (on the left of the RJ45) and turn on the unit
- After 6 seconds, release S1 and then the unit should revert back to default settings as below:
IP: 192.168.2.1
Gateway: 192.168.2.1
Username: admin
Password: system
- Follow the manual’s RJ45 remote control port section settings, change the factors as below and then start to use.
TCP control: server mode protect timeout set to 0
UART control: Baudrate set to 9600
The TP-SW4G-2SFP and TP-SW8G-2SFP are fully manageable PoE switches.
You can turn the PoE ports on and off through SNMP.
Requirement:
Firmware must be V2.1 or newer. You can get the latest firmware at tyconsystems.com on the support page.
MIB files are also available on tyconsystems.com support page. The MIB for PoE port control is titled VTSS-POE-MIB. The OID for POE Port control is: 1.3.6.1.4.1.6603.1.43.1.2.3.1.1.2.
- Port numbers are designated as follows:
- Port 1 = 1000001
- Port 2 = 1000002
- Port 3 = 1000003
- Port 4 = 1000004 etc.
The values to use to set the port action are as follows:
- disable = 0
- 802.3af = 1
- 802.3at = 2
So to turn off the power to port 4 Set value of 1.3.6.1.4.1.6603.1.43.1.2.3.1.1.2.1000004 = 0
To turn on power to port 4 with mode = 802.3at Set value of 1.3.6.1.4.1.6603.1.43.1.2.3.1.1.2.1000004 = 2
TP-SW4G-2SFP and TP-SW8G-2SFP Managed PoE Switches
PoE Port Control Using SSH:
You can use an SSH capable terminal program such as Putty.
“https://www.putty.org/”
To access the switch through any of the RJ45 ports to be able to control the PoE to the ports.
Start by typing the PoE Switch IP address into the Putty Program. The switch default IP is 192.168.2.1
- The switch will ask for a username and password. Default username is admin and password is system.
- login as: admin password: system
- Once you see the “#” you know that you are logged in successfully. You will then enter commands to control the PoE ports as follows.
- configure terminal (config)# interface gigabitethernet 1/x
Where “x” = the port number 1-4 or 1-8 ie; “interface gigabitethernet 1/3” to control port 3 (config-if)# no poe mode turns off the PoE to the selected port.
Other valid commands are:
- “poe mode plus” to set the port to 802.3at mode and
- “poe mode standard” to set the port to 802.3af mode.
Note: switching between 802.3af and 802.3at will power cycle the port.
Connect to the console via the console serial port (115200,8,1,N) or via SSH using software like Putty.
- Turn off the unit, disconnect any Ethernet cables attached to the module.
- Press and hold S1 switch (on the left of the RJ45) and turn on the unit
- After 6 seconds, release S1 and then the unit should revert back to default settings as below:
IP: 192.168.2.1 Gateway: 192.168.2.1 Username: admin Password: system
- Follow the manual’s RJ45 remote control port section settings, change the factors below and then start to use.
TCP control: server mode protect timeout set to 0 UART control: Baud rate set to 9600
FG is frame ground or chassis ground or earth ground.
VIN- is connected to V- in your system. In some systems, V- is connected to chassis ground or earth ground. In this case, FG should also be connected directly to chassis ground. It will be connected to V- through the system wiring but this is okay. The suggested wiring is to protect devices against electrical surges like lightning surges.
All Tycon PoE switches with SFP ports can accept any standard SFP fiber transceiver modules.
The SFP module that you select determines if it is single, dual or multimode fiber.
Some standard SFP modules can be found on Amazon or from your favorite electronics distributor:<
Yes, you can use two or more units of the TP-SW4G-2SFP / TP-SW8G-2SFP in the same network.
If for any reason, using two or more of those switches causes problems with your SNMP software or your network, please do either of the following.
- Make sure each switch has a different hostname or SysName from each other.
- Change the hostname or SysName of the switch via CLI Instructions are found here:
https://tsi.tyconsystems.com/doc/UserManuals/8000087_TP-SW4GBT-2SFP_User_Guide.pdf and
- Change the hostname or SysName of the switch via SNMP
- SNMP software should allow you to set the values of the SysName variable.
We’ve done it here using the SnmpB program “https://sourceforge.net/projects/snmpb”
You will also need the SNMPv2-MIB from here https://tyconsystems.wpenginepowered.com/firmware/
You load the MIB file and navigate the tree to System. You will see SysName variable. Right-click and select SET then set the value you want.
You must be logged in to post a review.
Related products
PoE Splitter, 802.3at Input, 12VDC and 48V Passive PoE Output, Female RJ45, 15W
10 Port Manageable GigE Industrial PoE Network Switch, 8x 802.3at/bt PoE + 2x SFP/LC 2.5GHz Fiber + 1x Serial Console Port
20 Port Manageable GigE Industrial PoE Network Switch, 4x 802.3bt, 12x 802.3at/Passive PoE + 4x SFP/LC 2.5G Fiber + 1x Serial Console Port
10-15VDC Input, 56V 4.46A 250W Regulated Output DCDC Isolated Voltage Converter, Wire Terminal Input and Output (12AWG Max)
PoE Voltage Crossover Cable - converts standard PoE pin-out to reverse voltage pin-out
Reviews
There are no reviews yet